最新招聘:融资专员 8万-12万 项目会计5万-8万 房建项目总工12万-19万 项目经理 12万-19万
了解更多
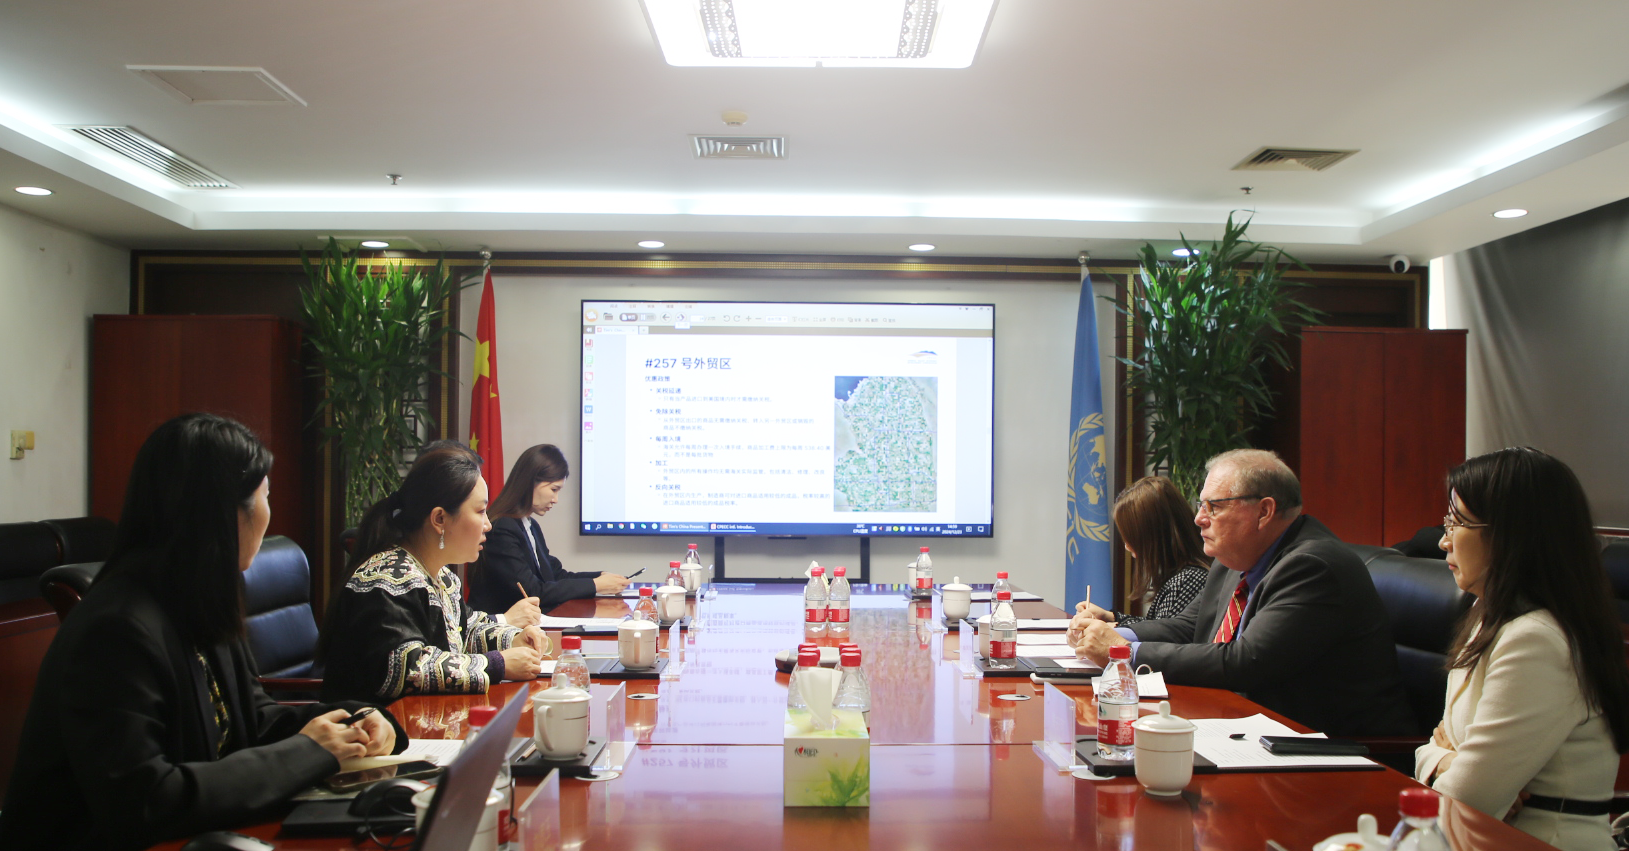
中建投董事长姜男会见美国...
12月23日,美国加州布劳利市议员、帝王郡经济发展公司总裁兼首席执行官Timothy Kelley一行到中建投办公区拜访交流
详情查看 →

广东发布“平急两用”公共...
近日,《广东省“平急两用”公共基础设施建设设计指引(试行)》印发,为全省“平急两用”公共基础设施建设的稳步推进提供可靠的技术支撑,
详情查看 →
 业务板块
业务板块
工程业绩
-
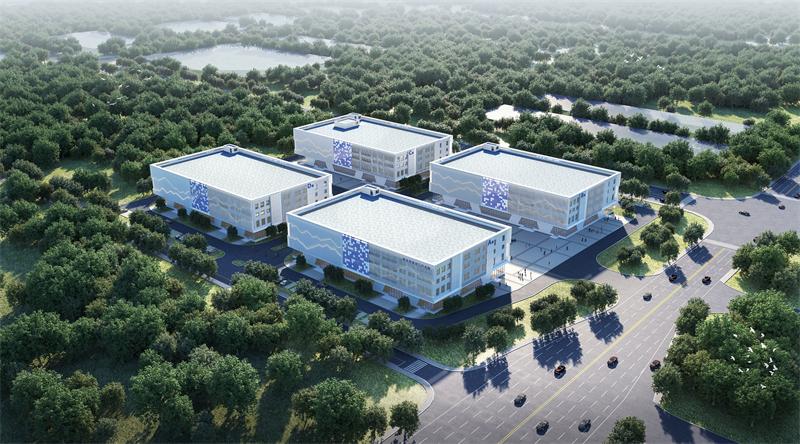
商丘市梁园产业集聚区医疗基础设施综合...
查看项目
-
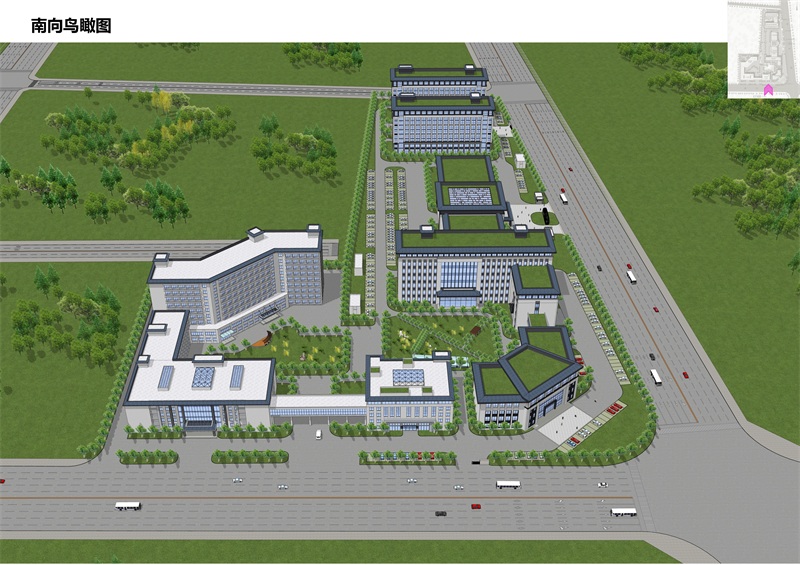
东营综合保税区高端制造产业园基础设施...
查看项目
-

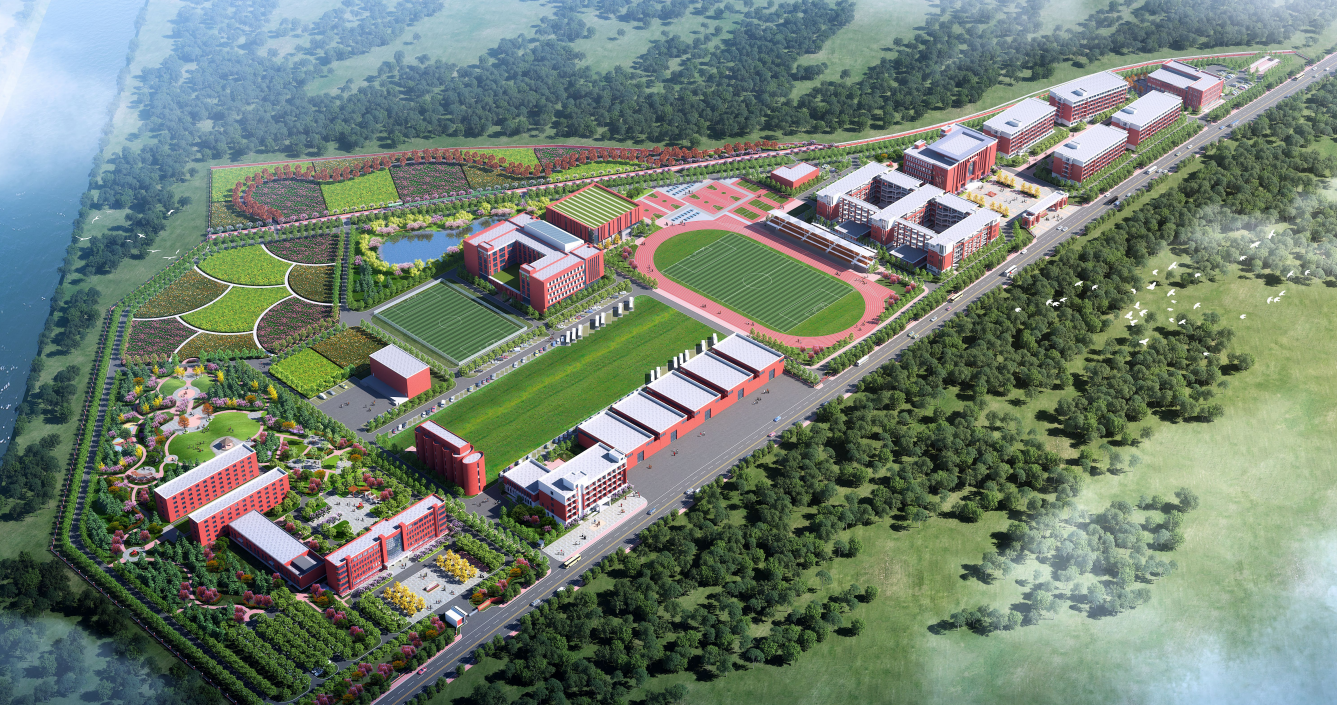
遂宁市船山区职业教育产业园项目-四川职...
查看项目
-
无极县皮革园区智慧仓储物流中心项目融...
查看项目
-

开封市祥符区医疗基础设施暨综合服务能...
查看项目
-

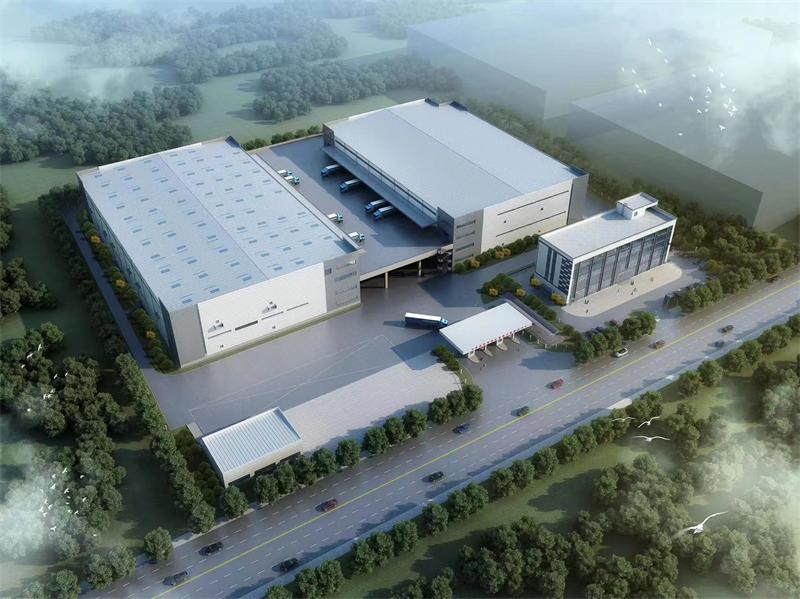
开封市祥符区智慧冷链物流园基础设施建...
查看项目
-

嘉兴市第二医院整体迁建(长三角国际医...
查看项目
-

确山县人民医院新区医院建设项目
查看项目
-
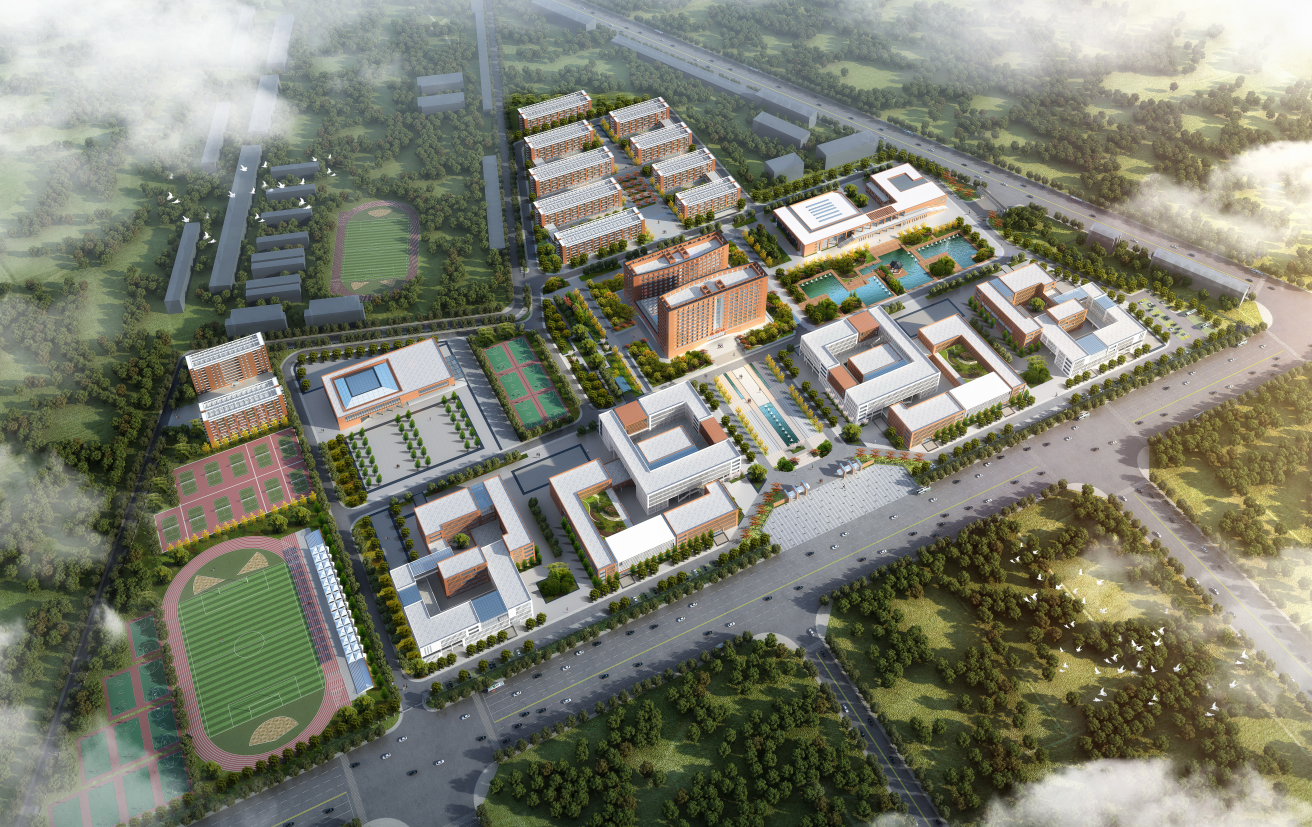
固始县职业教育技能培训学校建设项目
查看项目
-

驻马店市公共卫生临床中心(市第七人民...
查看项目
-

宝丰县纺织服饰博物馆项目
查看项目
-
宝丰县职业教育培训中心PPP项目
查看项目
-

宝丰县人民医院改扩建项目
查看项目
-

宝丰中医院病房门诊综合楼建设项目
查看项目
-

中国北京雁栖神堂谷养生度假山庄
查看项目
-

北京通州澳洲园房车露营地
查看项目
-
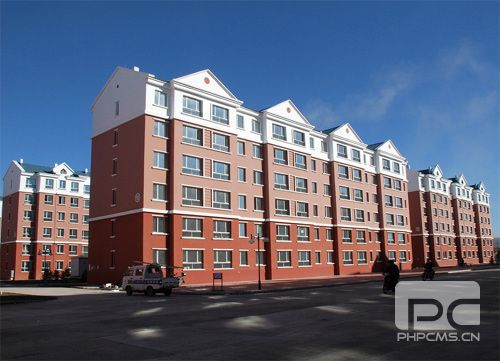
新密市祥和丽景棚户区改造项目
查看项目
-

兰考县第一高级中学新建项目
查看项目
-

杞县经四路北段新建道路工程
查看项目
-
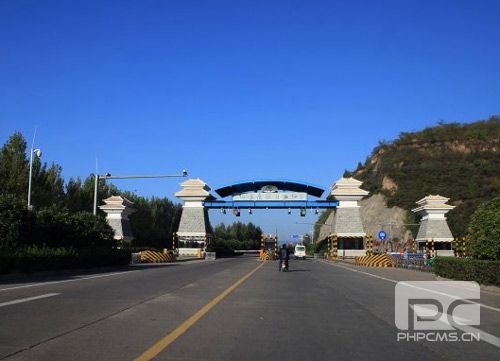
汤阴县绕城南路道路建设工程
查看项目
-

信阳市国际家居产业小镇经一路工程施工
查看项目
-

三门峡市公路道路工程施工项目
查看项目
-

云南蒙文砚高速周中寨大桥
查看项目
-
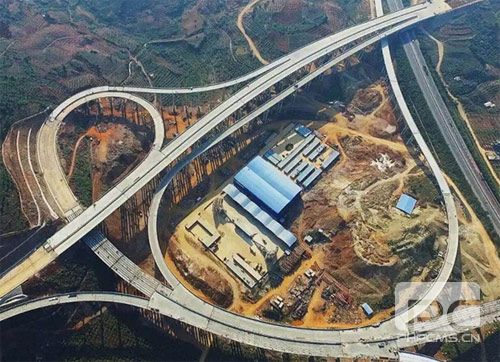
云南蒙文砚高速蒙自互通
查看项目


